The DIY Pedicure
By Artemis
I recently enjoyed a wonderful at home pedicure. As much as I enjoy the luxury of a professional taking care of my feet, finances often call for me to become my own pedicurist.
It isn’t hard to create a small spa at home, where you can relax for a an hour, put on some music that you like, read a little, catch up on a tv show, or chat with your best friend.
Growing up in Queens, I could easily find a very good pedicure for about $15, or a mani-pedi for $21 on peak days. If you got it done Monday Wednesday, you could get that same service for $15. When I moved to LA, the price tag for the exact same services I enjoyed back home nearly doubled! $35 to me was a lot to pay for something that did not include a little more pampering. In my own mind, I would rather pay $50 for both services, and be treated to some serious massage and exfoliation. So I treat myself whenever I feel a professional is needed.
But all other times, I simply take care of me.
Prepare a foot soak:
- A basin filled with warm water.
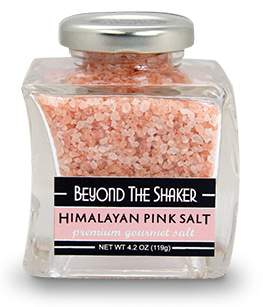
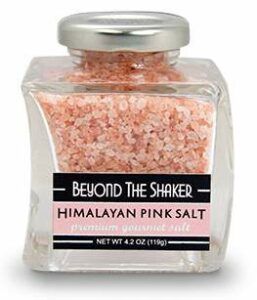
- Salt (I use Himalayan Pink salt because I like the detox factor. You can also use sea salt or even epsom salt)
- I squeeze a whole lemon into the water basin, and toss the lemons in there. (the acid in lemon juice assists in the detox) I also rub the lemon halves onto my feet and calluses.
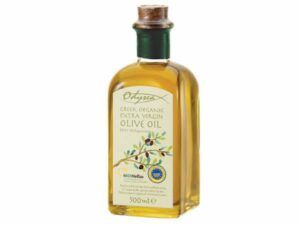
- Drizzle with extra virgin olive oil (from your kitchenor any other oil you have handy)
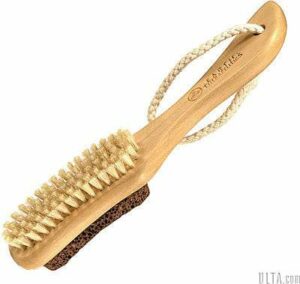
- Dry brush your feet to remove toxins and a bit of dead skin. Try: Natural Sierra Pumice Brush with Contoured Handle
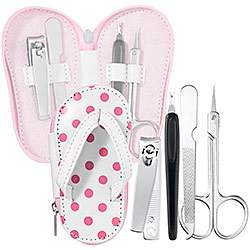
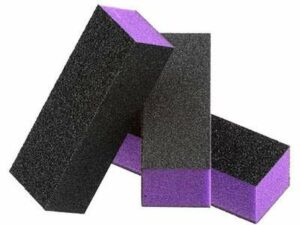
- Clip and file your toe nails, keeping them square with with a slightly rounded corner. Then lightly buff the surface with a soft sanding block. Try: Sephora Collection Flip Flop Pedicure Set & a Nail Sanding Block
- Soak for about 30 minutes so that they become as soft as possible. Read a magazine or close your eyes and listen to some soothing music while sipping on your favorite tea or cucumber water.
- Grab a foot file and start filing away till your feet are as smooth as they can be! Try: Tweezerman Pedro Callus Stone
- Using a cuticule pusher, push back your cuticles. I found some All Season Sanding Sticks, and I use one to remove excess skin grown on the nail that is part of the cuticle and hard to remove without cutting. I am not very good with cuticle scissors at all! Try: All Seasons Sanding Sticks

-
Soak for a little longer and pull out your favorite scrub of the moment, and scrub, massage, and scrub some more! And rinse! Try: 100% Pure Eucalytus Sea Therapy Organic Body Scrub
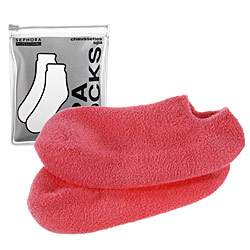
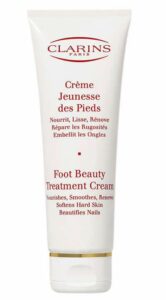 Dry them off, and apply some body oil and then your thickest, most creamy body or foot cream and put on a pair of cotton socks and let all of that goodness soak right in! Try: Clarins Foot Beauty Treatment Cream & SpaSocks
When applying polish to my own feet
I choose a soft natural color, only because I tend to be a bit messy, and my mess is more obvious with a darker or brighter shade! When I visit the professionals, then I let her work her magic!
Using a cotton pad, swipe some nail polish remover over your nails to remove any oils or cream from your lotion. This will make your nail polish stick better!
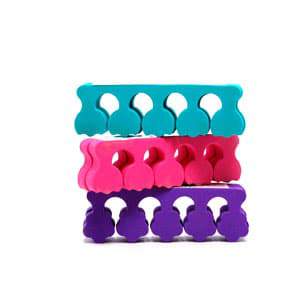
Separate your toes with a toe separator. Before applying base coat, apply a bonder.  This magically makes both my mani-pedi chip free for much longer than if I had not used one! Try: ChipSkip by OPI
Then go for the base coat. When applying your favorite polish, start with a stroke in the center, and then on each side. Paint the rest of your toes, and then repeat. Finish with a quick dry top coat and allow to dry for at least an hour!
Try: Essie First Base Coat & Essie Super Duper Top Coat & Nail Colors from OPI’s Hong Kong Collection 
And you’ve got pretty feet all over again!




As a curvy fashionista what is your best tip for reaching those baby toes and getting a clean polish on? All the extra “me” makes pedicures hard to reach well enough to do a half decent job and I miss enjoying this me time!